The Magical Journey: Crafting Your Own Enchanted Fairy Door
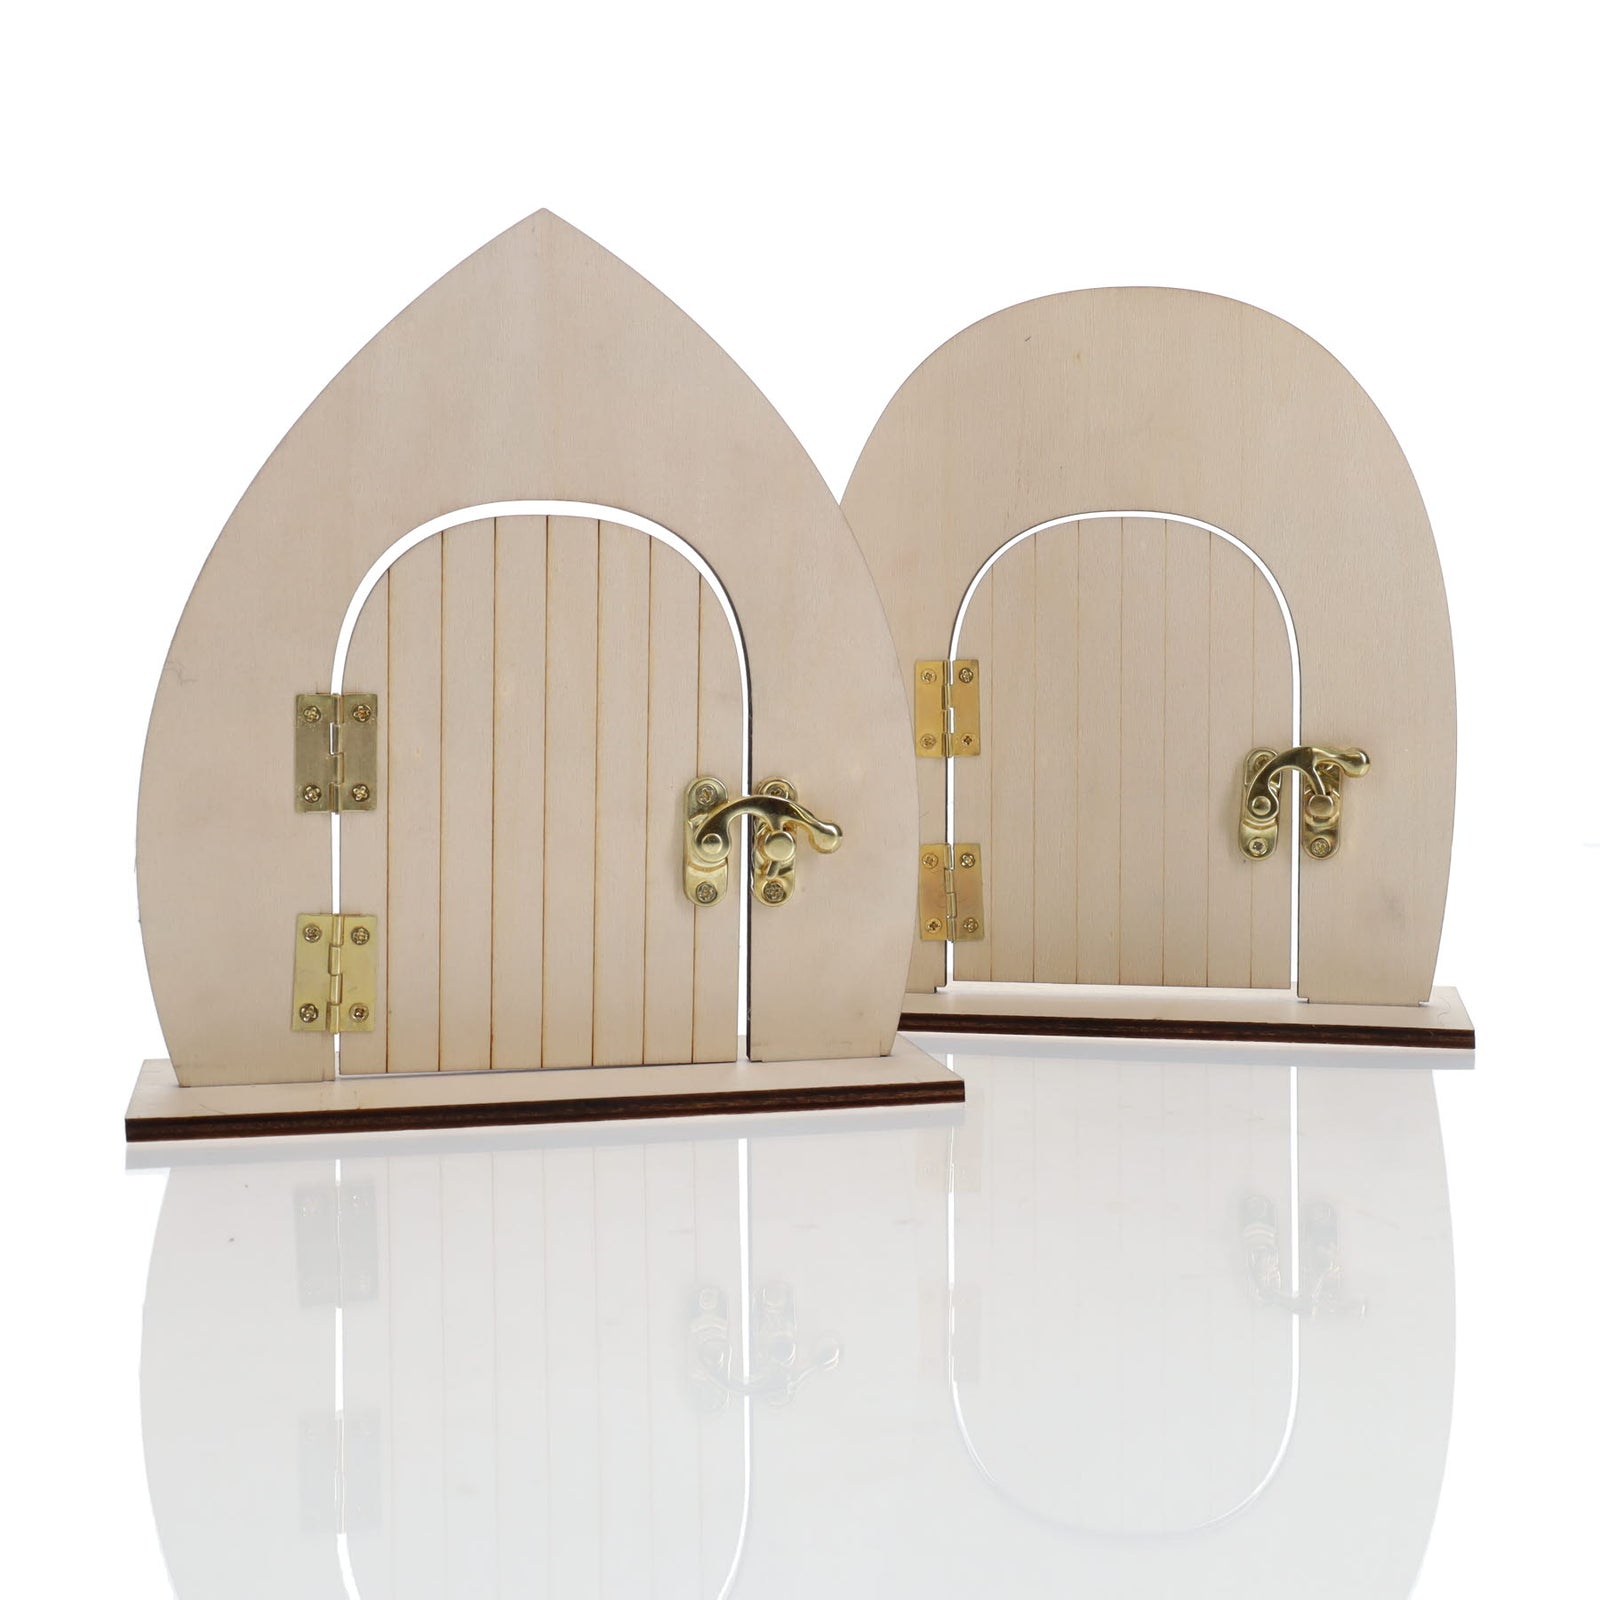
Inspired by the enchanting sight, Lily decided to embark on her own magical journey – crafting her very own fairy door. She sought out the renowned Crafty Bitz Fairy Door kit, a treasure trove of imagination waiting to be unlocked. Equipped with Icon Acrylic Paint Pens and Icon Glitter, her heart brimmed with excitement and her hands tingled with anticipation.
Step 1: Unveiling the Crafty Bitz Fairy Door Kit
With the Crafty Bitz Fairy Door kit in her hands, Lily's eyes sparkled with delight as she uncovered a miniature door, a canvas waiting to be brought to life. Alongside it, she discovered charming decorative elements and a trusty tube of Elmer's Glitter Glue. The possibilities were endless!
Step 2: Embracing the Creative Flow
With a burst of inspiration, Lily grabbed the Icon Acrylic Paint Pens and envisioned a design that would speak to the fairies themselves. She let her imagination flow like a gentle stream, painting intricate patterns of vines and blossoms with the pens' smooth strokes. The colours danced in harmony, forming a magical tapestry on the door.
Step 3: Glistening Fairy Magic
What's a fairy door without a sprinkle of magic? Lily reached for the Icon Glitter, each speck of it reminiscent of stardust. With care and a touch of wonder, she applied the Elmer's Glitter Glue to her painted masterpiece and delicately scattered the glitter. As the light caught the glitter, the door glimmered with an enchanting allure, as if beckoning fairies to venture forth.
Step 4: Infusing Personal Touches
As Lily admired her creation, she felt compelled to add a personal touch. She rummaged through the kit's decorative elements and found a tiny keyhole and delicate flowers. With dexterity, she affixed these treasures to her fairy door, bestowing it with a unique charm that only her heart could understand.
Step 5: Finding a Place in the World
With her magical masterpiece complete, Lily pondered where to place her fairy door. She envisioned a special nook in her garden, where it could be guarded by the gentle embrace of nature. And so, she carefully nestled the door amidst lush greenery and soft petals, creating a fairy haven that would stir the imagination of all who laid eyes upon it.
And so, dear readers, our tale of enchantment draws to a close. Lily's journey in crafting her own fairy door using our Crafty Bitz Fairy Door, Icon Acrylic Paint Pens, Icon Glitter and Elmer's Glitter Glue has filled her world with wonder and magic. In this realm of limitless creativity, we too can follow in her footsteps, bringing our fantasies to life through the art of crafting. So, dare to dream, unleash your imagination, and create your own fairy tale – one fairy door at a time. Happy crafting!


